List your market or festival
For organisers. This covers the whole form, then the two things that only organisers do: setting up repeating market dates, and approving the vendors who want to attend.
About 18 minutes to read
Before you start
- A Market Hive SA account, and you are logged in
- Your market logo, and a photo of the market in full swing
- Your trading days and times
- Optional: your vendor rules or application form as a PDF
Step 1: Open the form and choose Market
On your dashboard click + Create a listing, then click the Market button at the top so it is highlighted in gold.
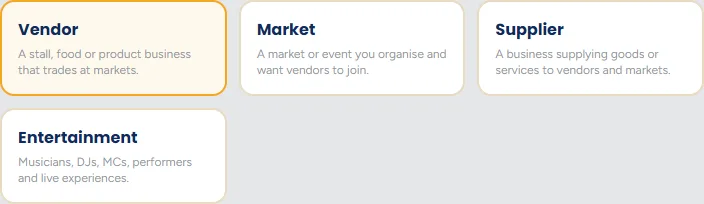
Festivals go here too
Step 2: Business details and location
The first two sections ask for the market name, a description and where it happens. The market name is the only compulsory field on the form.
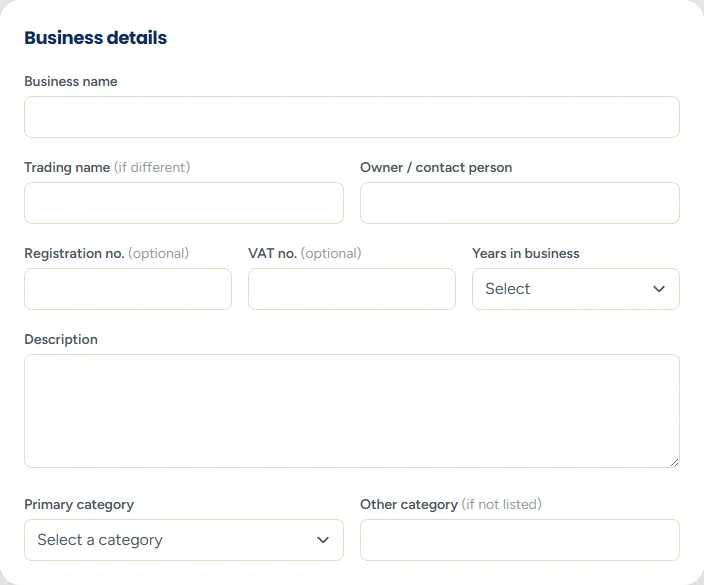
Write the description for a shopper deciding how to spend their Saturday, not for a vendor. What is the atmosphere, what will they find, is it worth the drive, can they bring the children and the dog.
Step 3: Organisation
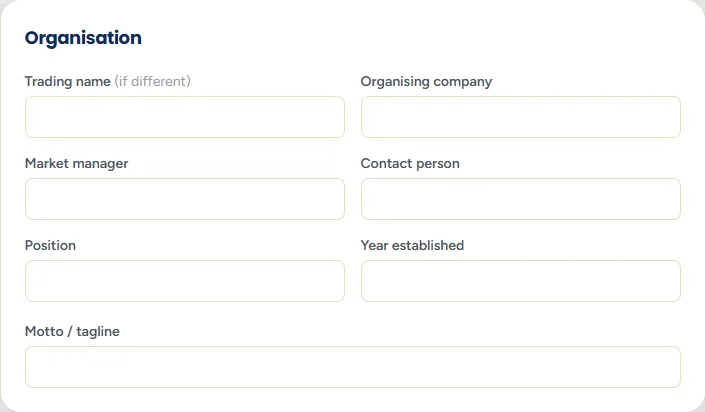
- Organising company - the legal entity, if there is one.
- Market manager - the person vendors deal with on the day.
- Tagline - one short line, shown under the name. "Fresh produce every Saturday since 2011".
- Year established - a long-running market should say so. It reassures both shoppers and vendors.
Step 4: Contact
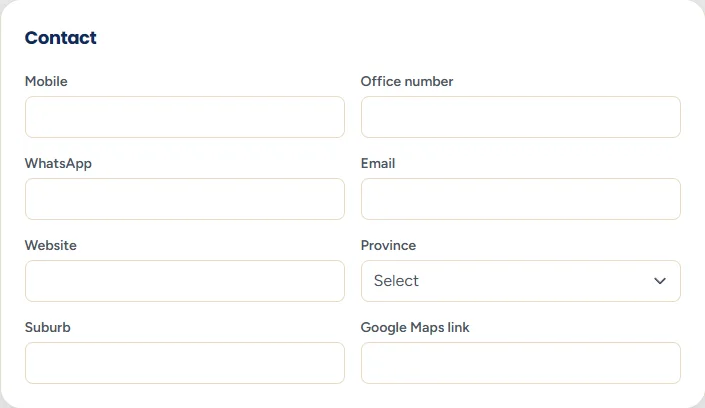
Use a number somebody answers
Step 5: Type and trading
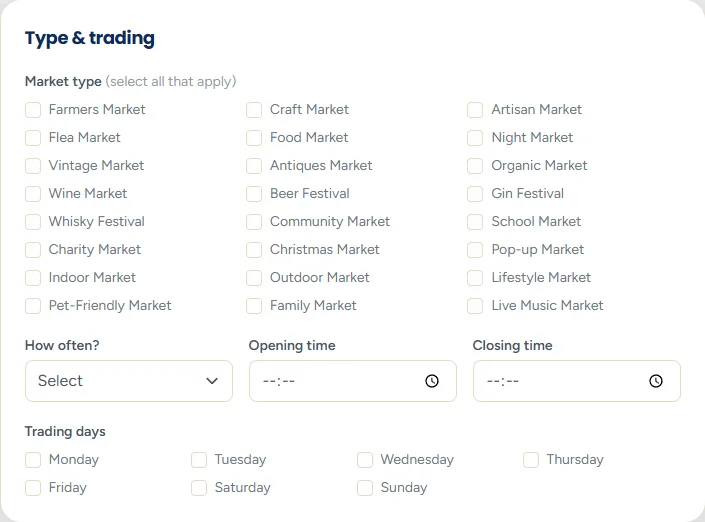
- Market type - farmers, craft, food, night market, festival and so on. Tick all that genuinely apply.
- Trading frequency and days - weekly, monthly, seasonal, and which days.
- Opening and closing times - the times the public may arrive, not your set-up time.
- Number of stalls - a size band, so vendors know what they are joining.
Step 6: Vendors
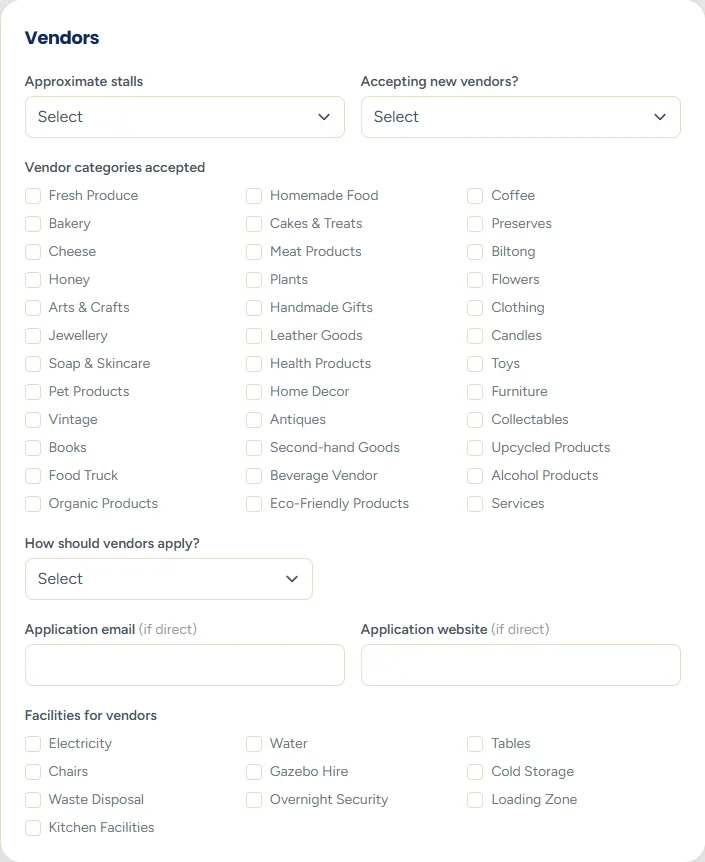
- Are you accepting vendors? - answer honestly. "Full, waiting list only" saves everyone time and does not hurt your listing.
- Vendor categories wanted - what you are short of. If you have six candle stalls and no fresh produce, tick produce. Vendors filter on this.
- How should vendors apply? - through this site, by email, or through your own form. If you choose email or a link, fill in the address or web address underneath.
Step 7: Facilities and visitors
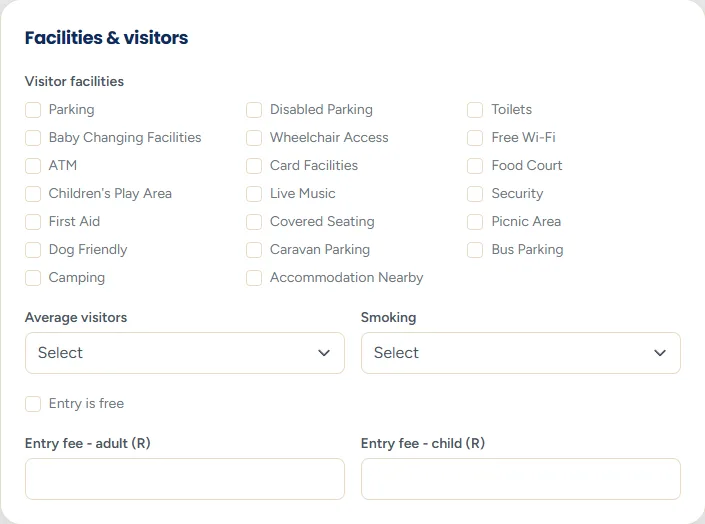
- Facilities - parking, toilets, wheelchair access, ATM, seating, dog friendly. Shoppers genuinely decide on these.
- Vendor facilities - power, water, shelter, tables. This is what vendors want to know before applying.
- Typical visitor numbers - a band, not a promise. Vendors use it to judge whether the stall fee is worth it.
- Entry fee - tick free entry, or fill in the adult and child prices.
Step 8: The Buzz Recommends
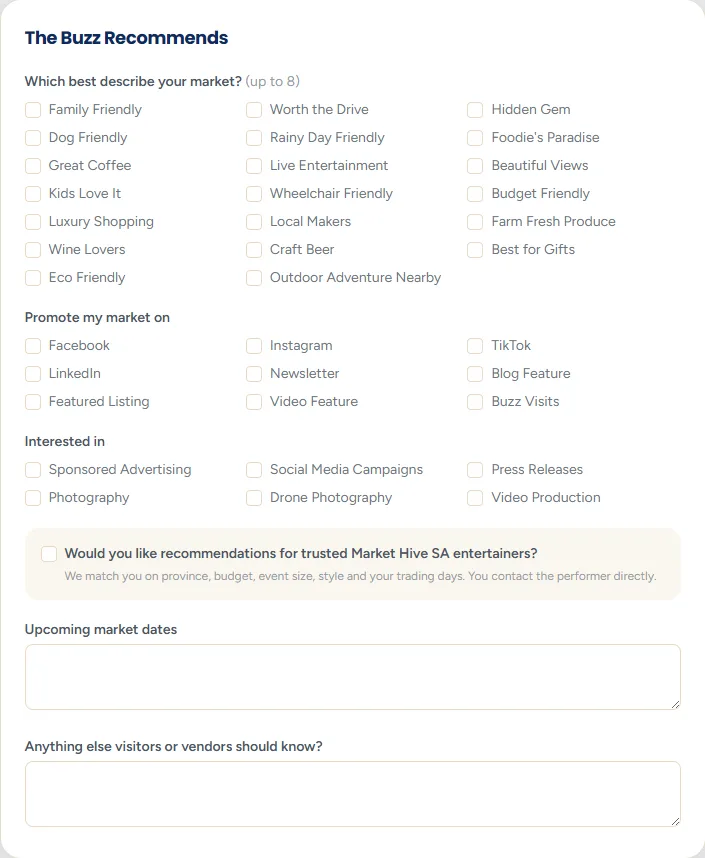
If you tick this, your dashboard will start showing performers matched to your province, your budget and the styles you chose, each with the reasons it matched.
Suggestions only, never a booking
Step 9: Documents and extra media
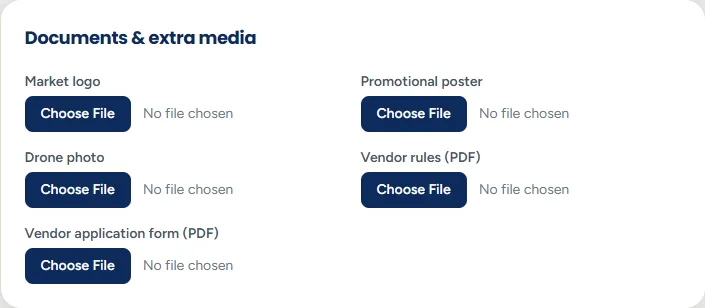
- Logo and drone or wide photo - up to 4 MB and 8 MB.
- Poster - for a specific event or season.
- Market rules and vendor application form - PDF or photo, up to 8 MB each.
Uploading your rules cuts your admin
Step 10: Images, agreements and submit
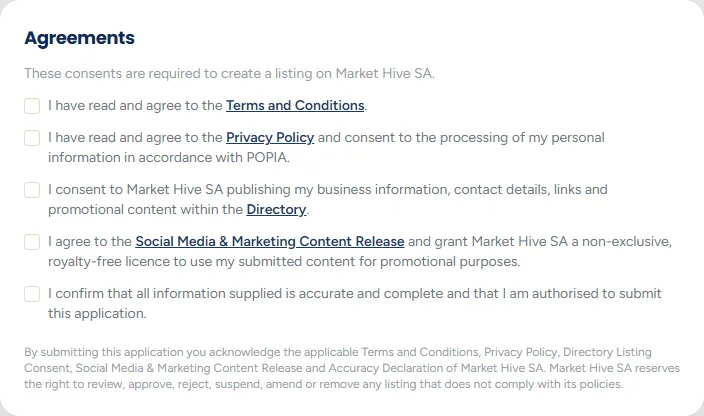
Add a main image and up to ten gallery photos, tick the five compulsory agreements, then click Submit application. If you picked a plan on the Hive Memberships page first, you go straight to checkout to finish joining. Otherwise you land on your dashboard, where your market shows as pending until a person has checked it.
Step 11: Set up repeating dates
Once your market is live, open it with Edit from your dashboard. In the trading section there is a question headed How often does this market run?

- Does not repeat - one-off events only. You add each date yourself.
- Weekly - every week on your trading days.
- Every second week
- Monthly on a weekday - such as the first Saturday of the month.
- Monthly on a date - such as the 15th.
Save the pattern, and the editor can then suggest the upcoming dates. You review the list and publish the ones you want. Nothing is published behind your back, so a month you are not trading simply does not get published.
Publish a few months ahead
Step 12: Approve the vendors who apply
When a vendor asks to attend, the request appears on your dashboard inside your markets panel, under Vendor attendance applications.

Each request shows you, in one place:
- the vendor's name, contact person, number and email
- their categories, and whether they sell food
- the stall size they want and whether they need power, water or shelter
- the date they applied for, or whether they want to be a regular
- any compliance certificates they uploaded, as links you can open
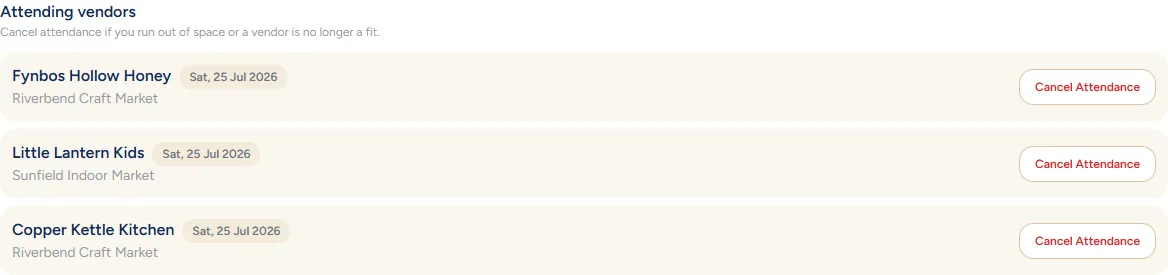
Approve or decline from there. Everyone you have approved appears in the Attending vendors block underneath, where you can also remove someone from a single date or cancel them entirely.
This is Attendance Confirmation, not a stall booking
The attendance guide explains the same process from the vendor's side, which is worth reading so you know what they see.
Still stuck? Email [email protected] or use the contact form. Tell us which step you are on and we will walk you through it.