List your venue
For anyone with a space that markets, events or functions can use: halls, barns, warehouses, gardens, courtyards, farm land, rooftops and parking areas.
About 10 minutes to read
Before you start
- A Market Hive SA account, and you are logged in
- Photos of the space, empty and in use if you have both
- Your capacity and roughly how you charge
Step 1: Start the Supplier form, not a venue form
There is no separate Venue button. Venues are created through the supplier form, because many venues also supply something. On your dashboard click + Create a listing, then click Supplier.
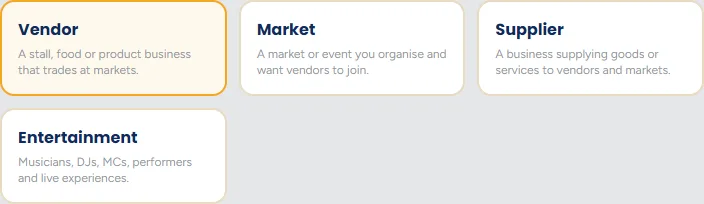
This trips people up
Step 2: Change the first question to Venue
The first question on the form is Are you a supplier, a venue, or both? Change it to Venue. The form immediately grows a set of venue questions.
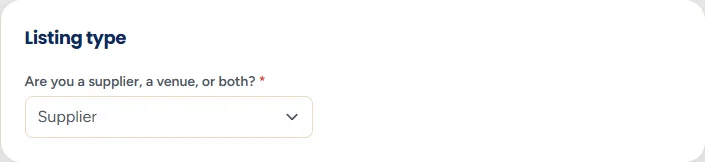
Choose Both if you also supply something
Step 3: Fill in the venue questions
These appear straight under the drop-down once Venue is selected.
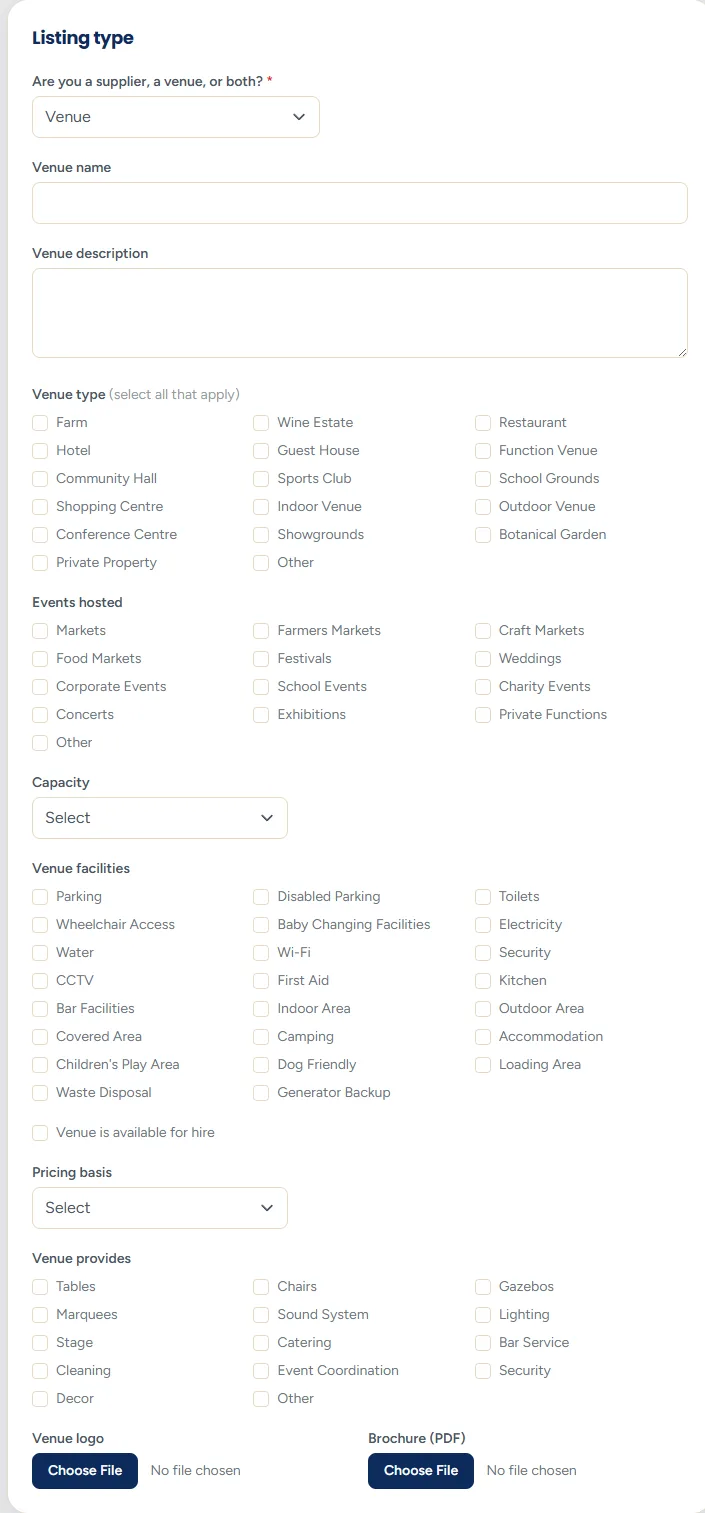
- Venue name - what the space is called. It can differ from the business name: "The Old Dairy Barn" at "Rosewood Farm".
- Venue description - the feel of the place, what it suits, what is nearby. An organiser is picturing their event in your space, so help them see it.
- Venue types - indoor hall, outdoor field, courtyard, warehouse and so on. Tick all that apply.
- Event types - markets, festivals, weddings, functions, workshops, expos. This is how organisers filter, so be generous but honest.
- Capacity - a band rather than an exact number. Use the realistic comfortable figure, not the fire-certificate maximum.
- Facilities - parking, toilets, kitchen, power, water, wheelchair access, shade. These decide most bookings.
- Available for hire - tick it if people can actually book the space.
- Pricing basis - per hour, per day, per event, or a percentage. You are not asked for a figure, only how you charge.
- What the venue provides - tables, chairs, gazebos, staff, cleaning, security.
Be honest about parking and toilets
Step 4: Add your venue logo and brochure
At the foot of the venue section are two uploads: a venue logo up to 4 MB, and a brochure as a PDF or photo up to 8 MB.
A one-page brochure does the selling
Step 5: Fill in the shared sections
Above and below the venue block are the ordinary sections every listing has: business details, contact and location, images, and agreements. Fill those in as normal.
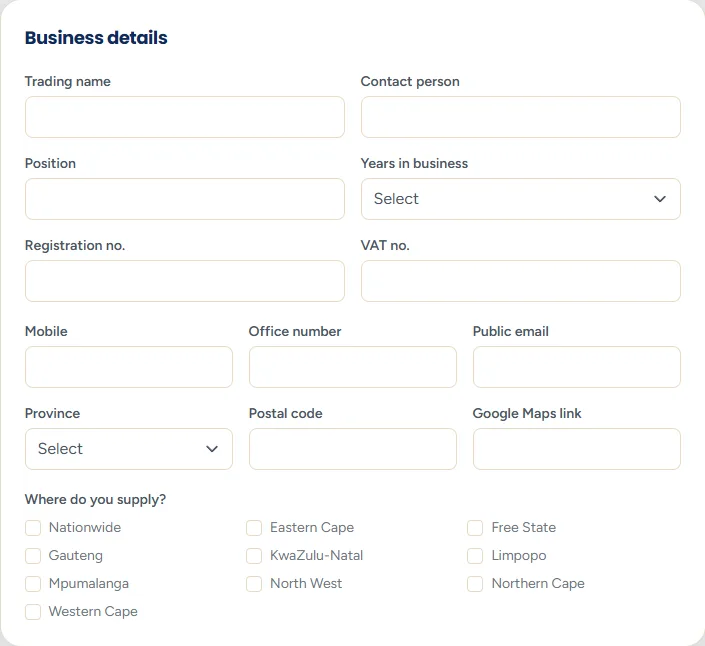
The address matters more for a venue than for any other listing type. People need to find the place, and organisers judge a venue partly on where it is.
Step 6: Photographs are the whole listing
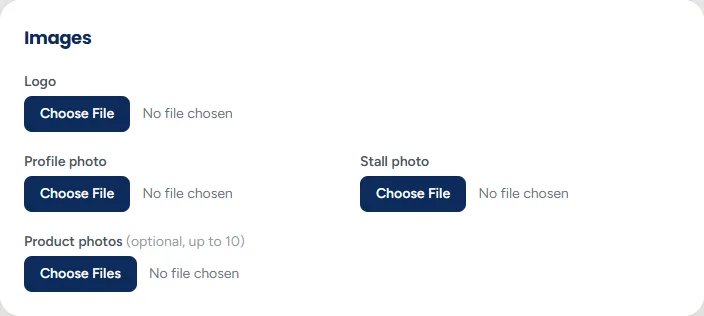
Nobody hires a space they cannot picture. Aim to cover:
- the space empty, wide enough to show its true size
- the space in use at an event, if you have such a photo
- the entrance and the parking
- the toilets and kitchen if they are decent
- the view or the setting, if that is part of the appeal
Shoot from a corner
Step 7: Submit and find your listing
Tick the five compulsory agreements and click Submit application. If you picked a plan on the Hive Memberships page first, you go straight to checkout to finish joining. A person then checks the listing before it goes live.
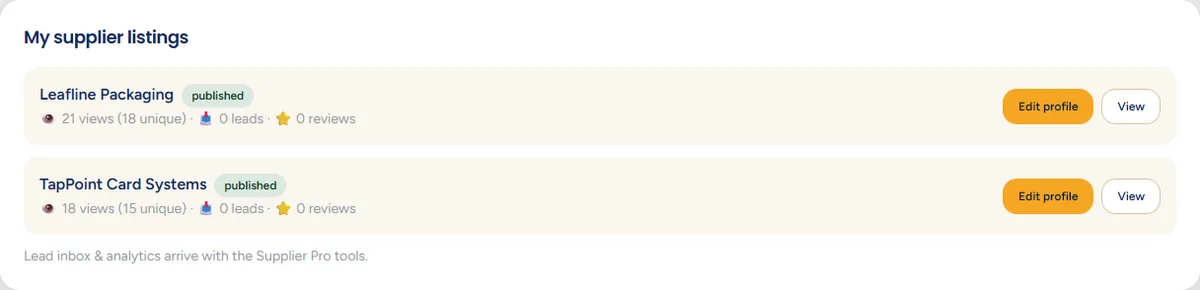
Your venue then appears in the venues directory. On your own dashboard it sits under your supplier listings, because underneath it is the same kind of record. Use Edit profile there to change anything.
Still stuck? Email [email protected] or use the contact form. Tell us which step you are on and we will walk you through it.